
Each catcher comes with mounting instructions specific to that catcher. All catchers have a general information sheet that provides catcher care direction and basic instructions. If your catcher comes with a bracket in the box, then you will also receive specific bracket installation instructions.
It is your responsibility to read the warnings below and follow the provided instructions.
TOOLS NEEDED IF A BRACKET IS REQUIRED:
1.Match the corresponding
panels of the dust cover
to the perforated panels
on the catcher.

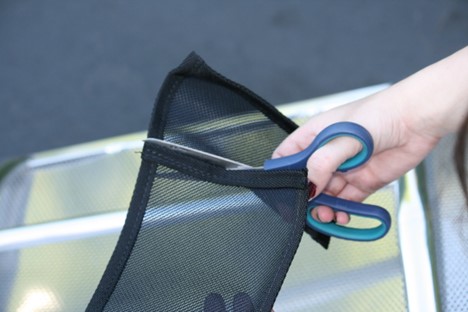
2.If your catcher has
shorter perforated panels,
you may need to trim the
panels along the pre-
stitched seam line.
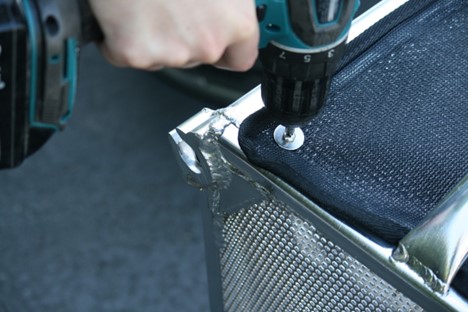
3.Starting at the
corners, drill the
stainless screws and
washers into the holes in
the aluminum panel.
4.Space the screws
approximately 6” apart.
Side panels will take 8
screws. The top will take 12
screws. The door will take 7
screws. The smallest panel
will take 5 screws.
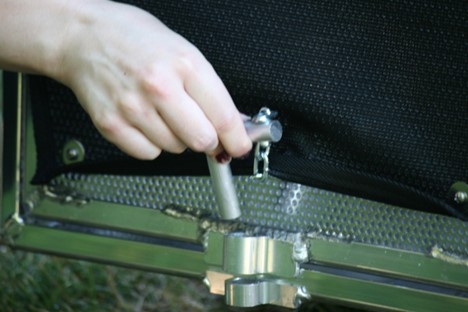
5.The lower corners of the
rear door should have
screws, but leave the
center of the door loose in
order to allow the door pin
to be removed.

6.When complete your
Accelerator will look like
this. Maintenance of your
dust cover is as simple as
occasionally blowing it off
with a backpack blower or
rinsing it with a hose.


Please use caution and common sense when using our catcher. This catcher is intended for use by people who are physically capable of lifting heavy objects. Do not use this catcher if you cannot safely lift heavy loads, and always use proper lifting techniques. Always follow safe mowing practices. Carefully follow all instructions when using and or installing the catcher. Not following these instructions can be hazardous to you as well as others. Do not attempt to remove to remove or install the catcher until the mower blade(s) have completely stopped moving. Avoid overfilling the catcher. Use extreme caution when mowing on non-level surfaces to avoid potential slippage or tipping. Keep your hands away from the inside of the catcher and do not use the catcher if it is damaged.
WARNING! When the catcher is not in use, the deflector shield assembly must be reinstalled. Additionally, any bracket or adaptor that is obstructing the deflector shield from fully deploying must be removed.
WARNING! Before using the catcher, check the mounting area for any gaps where debris could escape. Also make sure that when mounted, the bottom of the catcher is BELOW the mower blade. If you are unable to get the catcher to mount properly without gapes, or the catcher bottom is riding above the mower blade, call us for technical assistance before using the catcher. Our service technicians will assist in determining the problem and finding a solution. If the problem cannot be resolved to your satisfaction, you may return the catcher for a full refund.